
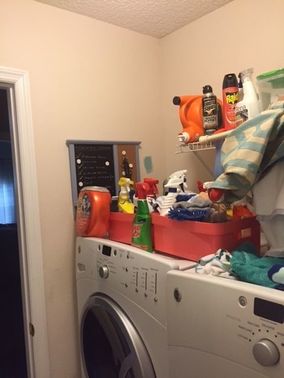
 The chore that everyone dreads doing the most is usually in a room that is just as dreadful. When looking through listings online of homes on the market the one room I see pictured most consistently is the laundry room. So the room that is a prime piece of real estate and where we do our most disliked chore gets no design attention. I am sure you have seen some amazing makeovers on design websites of laundry rooms. If you’re anything like me, spending thousands of dollars on the laundry room makeover is not practical. I mean the washer and dryer costs that much! So the challenge is to get a picture perfect welcoming laundry room with a low budget. Little research and lots a planning, I was able to do this for under $100. 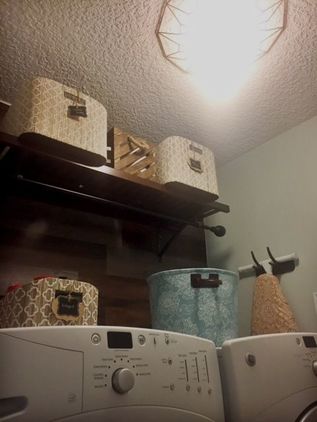 Before I share the details of the makeover here is some background. The laundry room is between the garage and hallway into the house. So it is the first room we see when we walk in the house. It was anything but welcoming. We got the upgraded front loader washers couple years back, with the pedestal drawers. In hindsight I would not add that upgrade. Extra storage seemed nice at the time, but it doesn’t hold cleaning supplies or anything else taller than 5 inches! No matter what colorful container you put on a builder grade shelf it is still dull. It was time to add the ahh! factor.
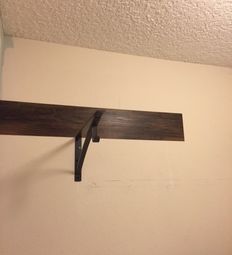
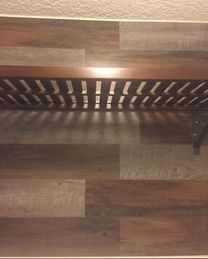
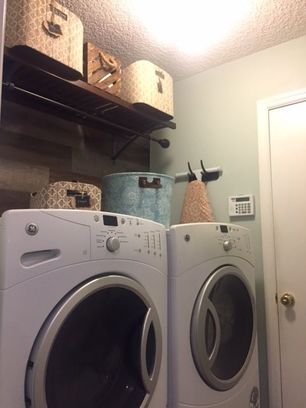
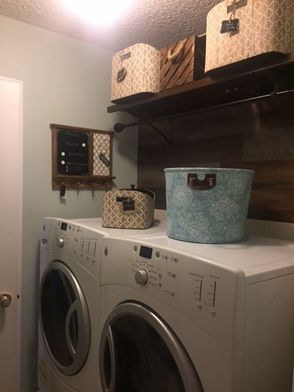
Removing the shelf was the first thing to go. Not an easy task I might add! At one point I just started pulling the railing, nail and all, out the wall. It left very large holes; even with caulk it still looked bad. So a textured wall treatment was the best option. There are several options I contemplated, pallet wood, shiplap, Stikwood (self adhesive natural wood planks). These options were good, but expensive or beyond my ability. Then I thought of laminate, can it stick to walls? I went to Lowes to look at my options and discovered peel and stick laminate that looked like wood. I wanted a distressed look so I used two different shades and alternated them. It looked great on the warehouse floor, but will it work. I bought what I needed (you can buy per panel) because there was only one box of gray distressed left. $20 of material-hello! 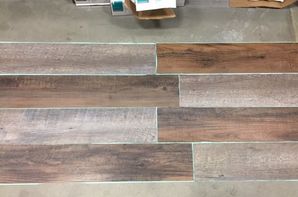 I also bought a closet shelf from Lowes, I knew the shelf brackets would have to be fixed to the wall first. After measuring and centering the shelf brackets, I applied the first laminate peice then the rest. It stuck! Well for a while...After putting three layers up, I heard several crashes in the middle of the night. Yep, they all fell down:( I wasn't giving up. I found a glue for rubber vinyl at Lowes and it worked. Easy to apply with a caulk gun. I used most of the panels that fell off and covered my feature wall adding the shelf.
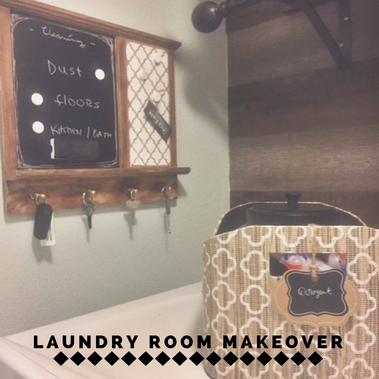
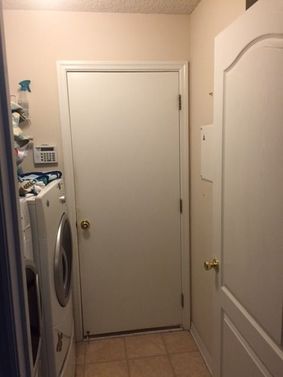
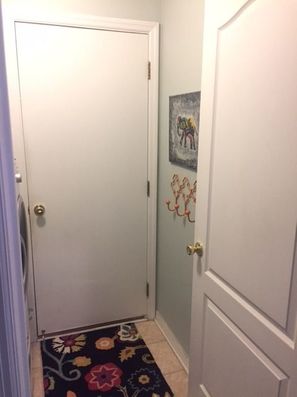
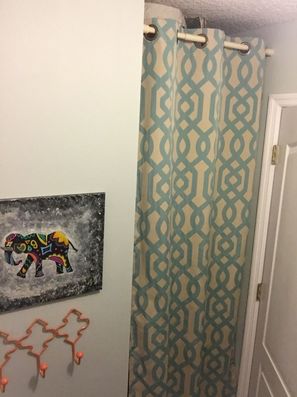
I painted the rest of the walls Sea Salt by Sherwin Williams, and added functional acessories. I added a curtain to hide the A/C unit, canvas print to hide security panel, and a towel rack that will work great returning from the beach or pool. I also tackled two DIY/repurpose projects. Painted and stenciled the bulletin/chalk board from baby blue color to distressed chalkpaint treatment and upgraded the light. The light fixture upgrade cost $6! I had the pin saved on Pinterest and knew I had to try it. Found a gold mirror on clearence. Removed the mirror easily and nailed it on the ceiling. I also painted the builder grade fixture with gold paint I had on hand to match. Best pinterest pin I ever tried! Click here for the pin from Bloglovin' for the light fixture.  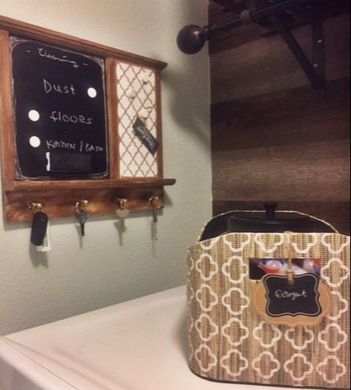 Found great baskets at Home Goods that accented the rustic and modern flare of the makeover. I labelled everything so the family can keep it tidy. I utilized the pedestal drawers for cleaning rags and other laudry supplies. I placed the house-hold cleaning supplies in the garage. The large containers we use as laundry baskets, no more oversized white plastic bins.
I can't tell you what a difference it makes walking in the house through this laundry room now. I no longer keep the light off and look down when passing through. Eventually I would like to add a sliding 'barn' door for easier pathway to the hall, replace the floor, and add a wood counter over the appliances. For less than $100, your prime real estate can now look good in photos and actually put a smile on your face during your chores;)
2 Comments
|

gina t grahamReal Estate and Remodeling Blog "Sometimes excellent is not a good enough word. I recommend Gina to everyone who is selling their home and for setting up the next home they buy." -Kit, staging client.
Archives
February 2024
Categories
All
|
 RSS Feed
Please call or email to book an appointment. |
|
|
SERVICES
Remodeling and Renovations Redesign E-design Home Staging Short Term Rental Design |
Telephone |
|
2023/24 RESA Florida State President

|