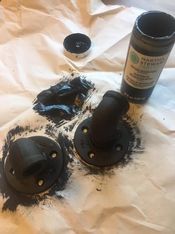
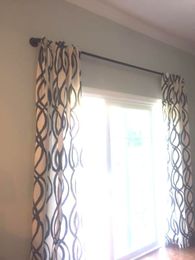
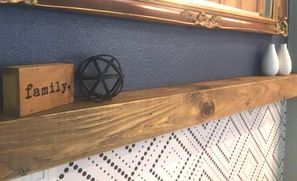
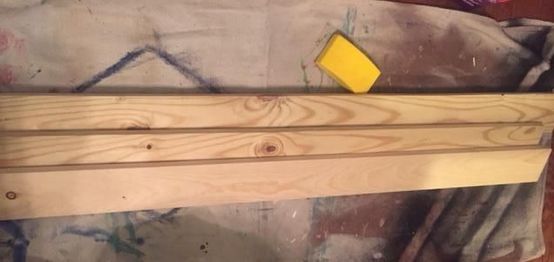
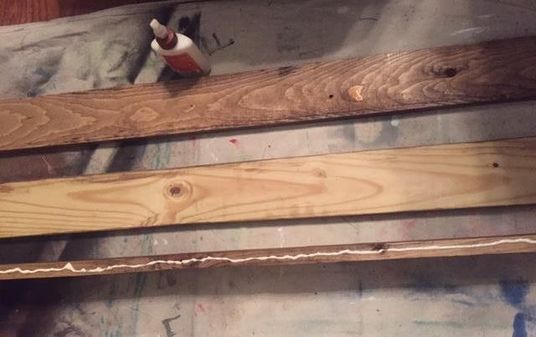
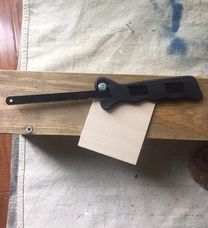
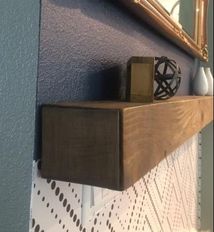
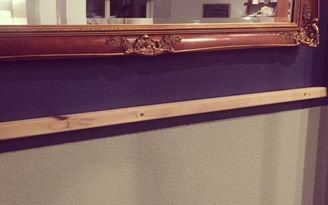
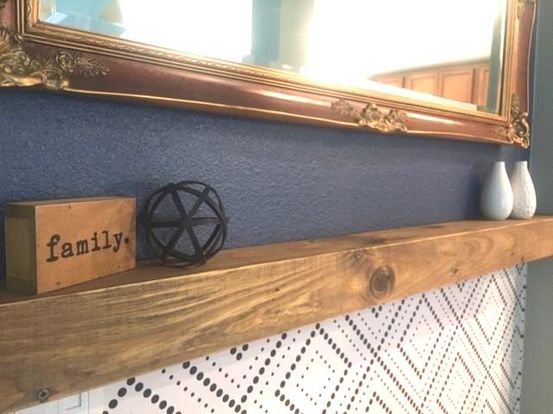
 It has been a busy two weeks of DIY projects for the One Room Challenge with Calling it Home and House Beautiful. To catch you up on the previous weeks and the plan for the space here is Week 1 and Week 2 blog post for your review. Since everyone loves a good, EASY, DIY project. I thought I would share the two I tackled for the one room challenge. 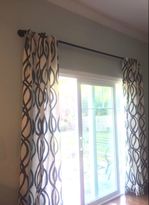 The first DIY project was the pipe curtain rod. I pinned a couple to Pinterest because the idea of not having the break in the rod, the size I want at a reasonable price is just to awesome to pass up! Curtains should be about 12 inches around the window on each side and top. The length of the curtains should puddle or touch the floor. Here is the Pinterest post I followed, it is very informative and easy to follow from Designer Trapped! Finding what I needed and someone to cut the pipe was not as easy as I thought. I would call ahead to your store and make sure their pipe cutter and threader are working and someone knows how to use it. The attachments were gray iron and the pipe I got cut was black with white writing on it. So I had to spray paint all the parts. Unfortunately even though I got matte black spray paint it was still too shiny. So, I had left over black chalk paint. Took longer to apply but was very satisfied with the outcome. Attaching it to the wall is what is time consuming and a 3 person job! Two to hold each side and one to make sure it is level before tracing the holes for drilling. Luckily my kids can take a bribe;) I didn't opt for the curtain rings, but in hindsight it would be easier to open and close. Now my wall looks bigger. My second DIY project was way more intimidating. Making my own mantle! A floating mantle that looks like a big chunk of solid wood. This was my first attempt at wood making and I am thrilled with the finish product!. I used information from Addicted to Decorating tutorial found on Pinterest to execute my plan with the tools I had. I needed a custom sized shelf that went the length of my wall, which was just shy of 5 feet in length. I decided I wanted 4 inch depth shelf. So I purchased 3 4x 8 and cut them all the same length. Of course, the stores cut them for me. I also purchased a good sanding tool to help with the edges and the distressing of the shelf once assembled. I purchased two different colored stains, driftwood and walnut. Driftwood was too light but combining it with the walnut made it the perfect color I wanted. Love that the wood had some great knots and natural distressing. After staining it I used the wood glue and wood screws to attach all three pieces together. Since one side of the shelf would be exposed I needed to cover the opening. That's when this pin came in handy. I couldn't find wood veneer but I found a really thin piece of wood backing that I cut with a trimming tool that I had from a previous craft project. (you can find the kit at Micheal's) Once I cut and sanded down the edge I attached it with wood glue. I then sanded the edges until they were rounded and part of the mantle. After staining the side piece it now looks like a thick piece of wood. The reason I never attempted a project like this before was because I had no idea how to hang it on the wall. It seems all the DIY shows and tutorials miss that crucial step. I know I need to make sure my mantle was attached to studs. I found the only two studs in the wall section I was using. I took 2 1/2 in. screws and adhered the 1x1 block to the two studs. I was so excited it worked on the first try! I laid the open end over the wall mounting wood and anchored the shelf to the stud block from the top of the shelf. Lots of elbow grease needed for this step! When I pass the shelf I always think, I can't believe I made that;) And its level and sturdy and awesome. Always wanted a mantle! I can't wait for Fall and Christmas to decorate it-insert giddy smile! Final reveal of the One Room Challenge in the next post.
7 Comments
5/11/2017 06:37:24 pm
Looks great, the mantle and mirror are beautiful!
Reply
Gina Graham
5/12/2017 03:00:12 pm
Thank you! That wall is my favorite spot!
Reply
Gina Graham
5/12/2017 03:02:35 pm
Isn't it neat. There is actually a lot of tutorials for those curtain rods. Its heavy and a bare to attach to the wall. but it is there;)
Reply
5/12/2017 09:27:49 am
Looks great, mantels are scary but you did an awesome job!
Reply
Gina Graham
5/12/2017 03:07:48 pm
Thank you! It has given me courage to tackle a built-in project. This is good or bad thing;)
Reply
Leave a Reply. |
gina t grahamReal Estate and Remodeling Blog "Sometimes excellent is not a good enough word. I recommend Gina to everyone who is selling their home and for setting up the next home they buy." -Kit, staging client.
Archives
February 2024
Categories
All
|
Please call or email to book an appointment. |
|
SERVICES
Remodeling and Renovations Redesign E-design Home Staging Short Term Rental Design |
Telephone |
|
2023/24 RESA Florida State President
|


 RSS Feed
